Fresh Baked Bread!
As you can imagine, things are sometimes a bit more basic here in Peace Corps Cameroon. I don’t have running water to make showering or doing dishes easier; nor do I have air conditioning to cool off during hot season – at least not chez moi. There are volunteers in Cameroon who actually do have one or both of those things, but those of us not living the Posh Corps lifestyle have learned to make do.
One thing that is pretty standardized across Peace Corps households, however, is the kitchen setup. All of my cooking is done with a stovetop connected by a rubber tube to a gas tank, kind of like a camping stove, but all-around bigger. When I first got to post and attempted to assemble this (by which I definitely mean watched my community host put it together), I couldn’t get my stove to stay lit. After a few days of buying all my food already prepared, I finally gave in and duct taped shut the mysterious holes in the pipes under the stove, and voila, it worked! So far I haven’t blown up, either.
I should probably also note that gas stoves are a little less common in Cameroonian households. It cost me over $100 to buy the setup in the first place, though most of that was for the tank itself, which is refillable. Cameroonians who don’t want to dish out the money or can’t afford it cook over wood fires for everything – grilling, baking, frying, you name it.
What my kitchen still lacks (besides running water and a microwave) is an oven. It is possible to buy an oven in Cameroon, and also run it off of a gas tank, and I know of at least one volunteer that even has one. Heck, my host family in Bafia had one. What do I have instead? A big heavy pot with a lid and some stones on the bottom. Plop it on the gas stove, preheat, and that’s my oven.
Dutch oven baking is a little bit limited. You can’t really control the temperature too well, and no light goes on or off to tell you when it’s finished preheating. You can’t broil. The heat isn’t always even. It’s a smaller space, so you are limited in what you can put in it, and it doesn’t get as dry. Still, I have successfully baked or witnessed someone baking all of the following in a Dutch oven: pies, brownies, cakes, cookies, bread, and even bagels. I think there is even a Volunteer in the East Region that has conquered Dutch oven lasagna.
My own Dutch oven exploits at post have been mostly limited to brownies and bread. But oh, have I baked a lot of bread. Bread baking was something that I sometimes did in America too, using a recipe based off the No-Knead Bread that Mark Bittman wrote about in the New York Times several years ago, and it only took a little tinkering to get used to the new climate and lack of conventional oven.
It was worth it, though, because bread is not a common thing at my post, and what I can buy is pretty mediocre and has traveled a ways to get there. Now I can have all kinds of delicious and freshly baked breads. I even made a sourdough starter back during hot season (it was so hot in my kitchen that it smelled sour within two days), though I mostly use that as a flavoring when I use it rather than for leavening. I have also witnessed the look on my teenaged neighbor’s face when I gave her a first taste of sourdough bread and she scrunched up her face and declared (In French, of course) “It’s sour! Did you put lemon in it?” I suppose sourdough, with its history and origins, is a pretty American thing.
So here is my recipe for Dutch oven bread:
3 to 3 ½ cups flour
2 tsp salt
½ tsp yeast
Optional flavorings (sourdough starter, oatmeal, honey, nuts, dried fruit, herbs, etc.)
Water as needed (start with about a cup)
Combine the flour, salt, yeast, and any optional flavorings and mix. Add water and knead it together until it forms a somewhat shaggy dough (it should stick to itself more than it sticks to you). Then, cover the bowl with big plastic bag so the dough doesn’t dry out, and let it rise in a warm part of your kitchen for about 8 hours or overnight. One it had risen it should look something like this:
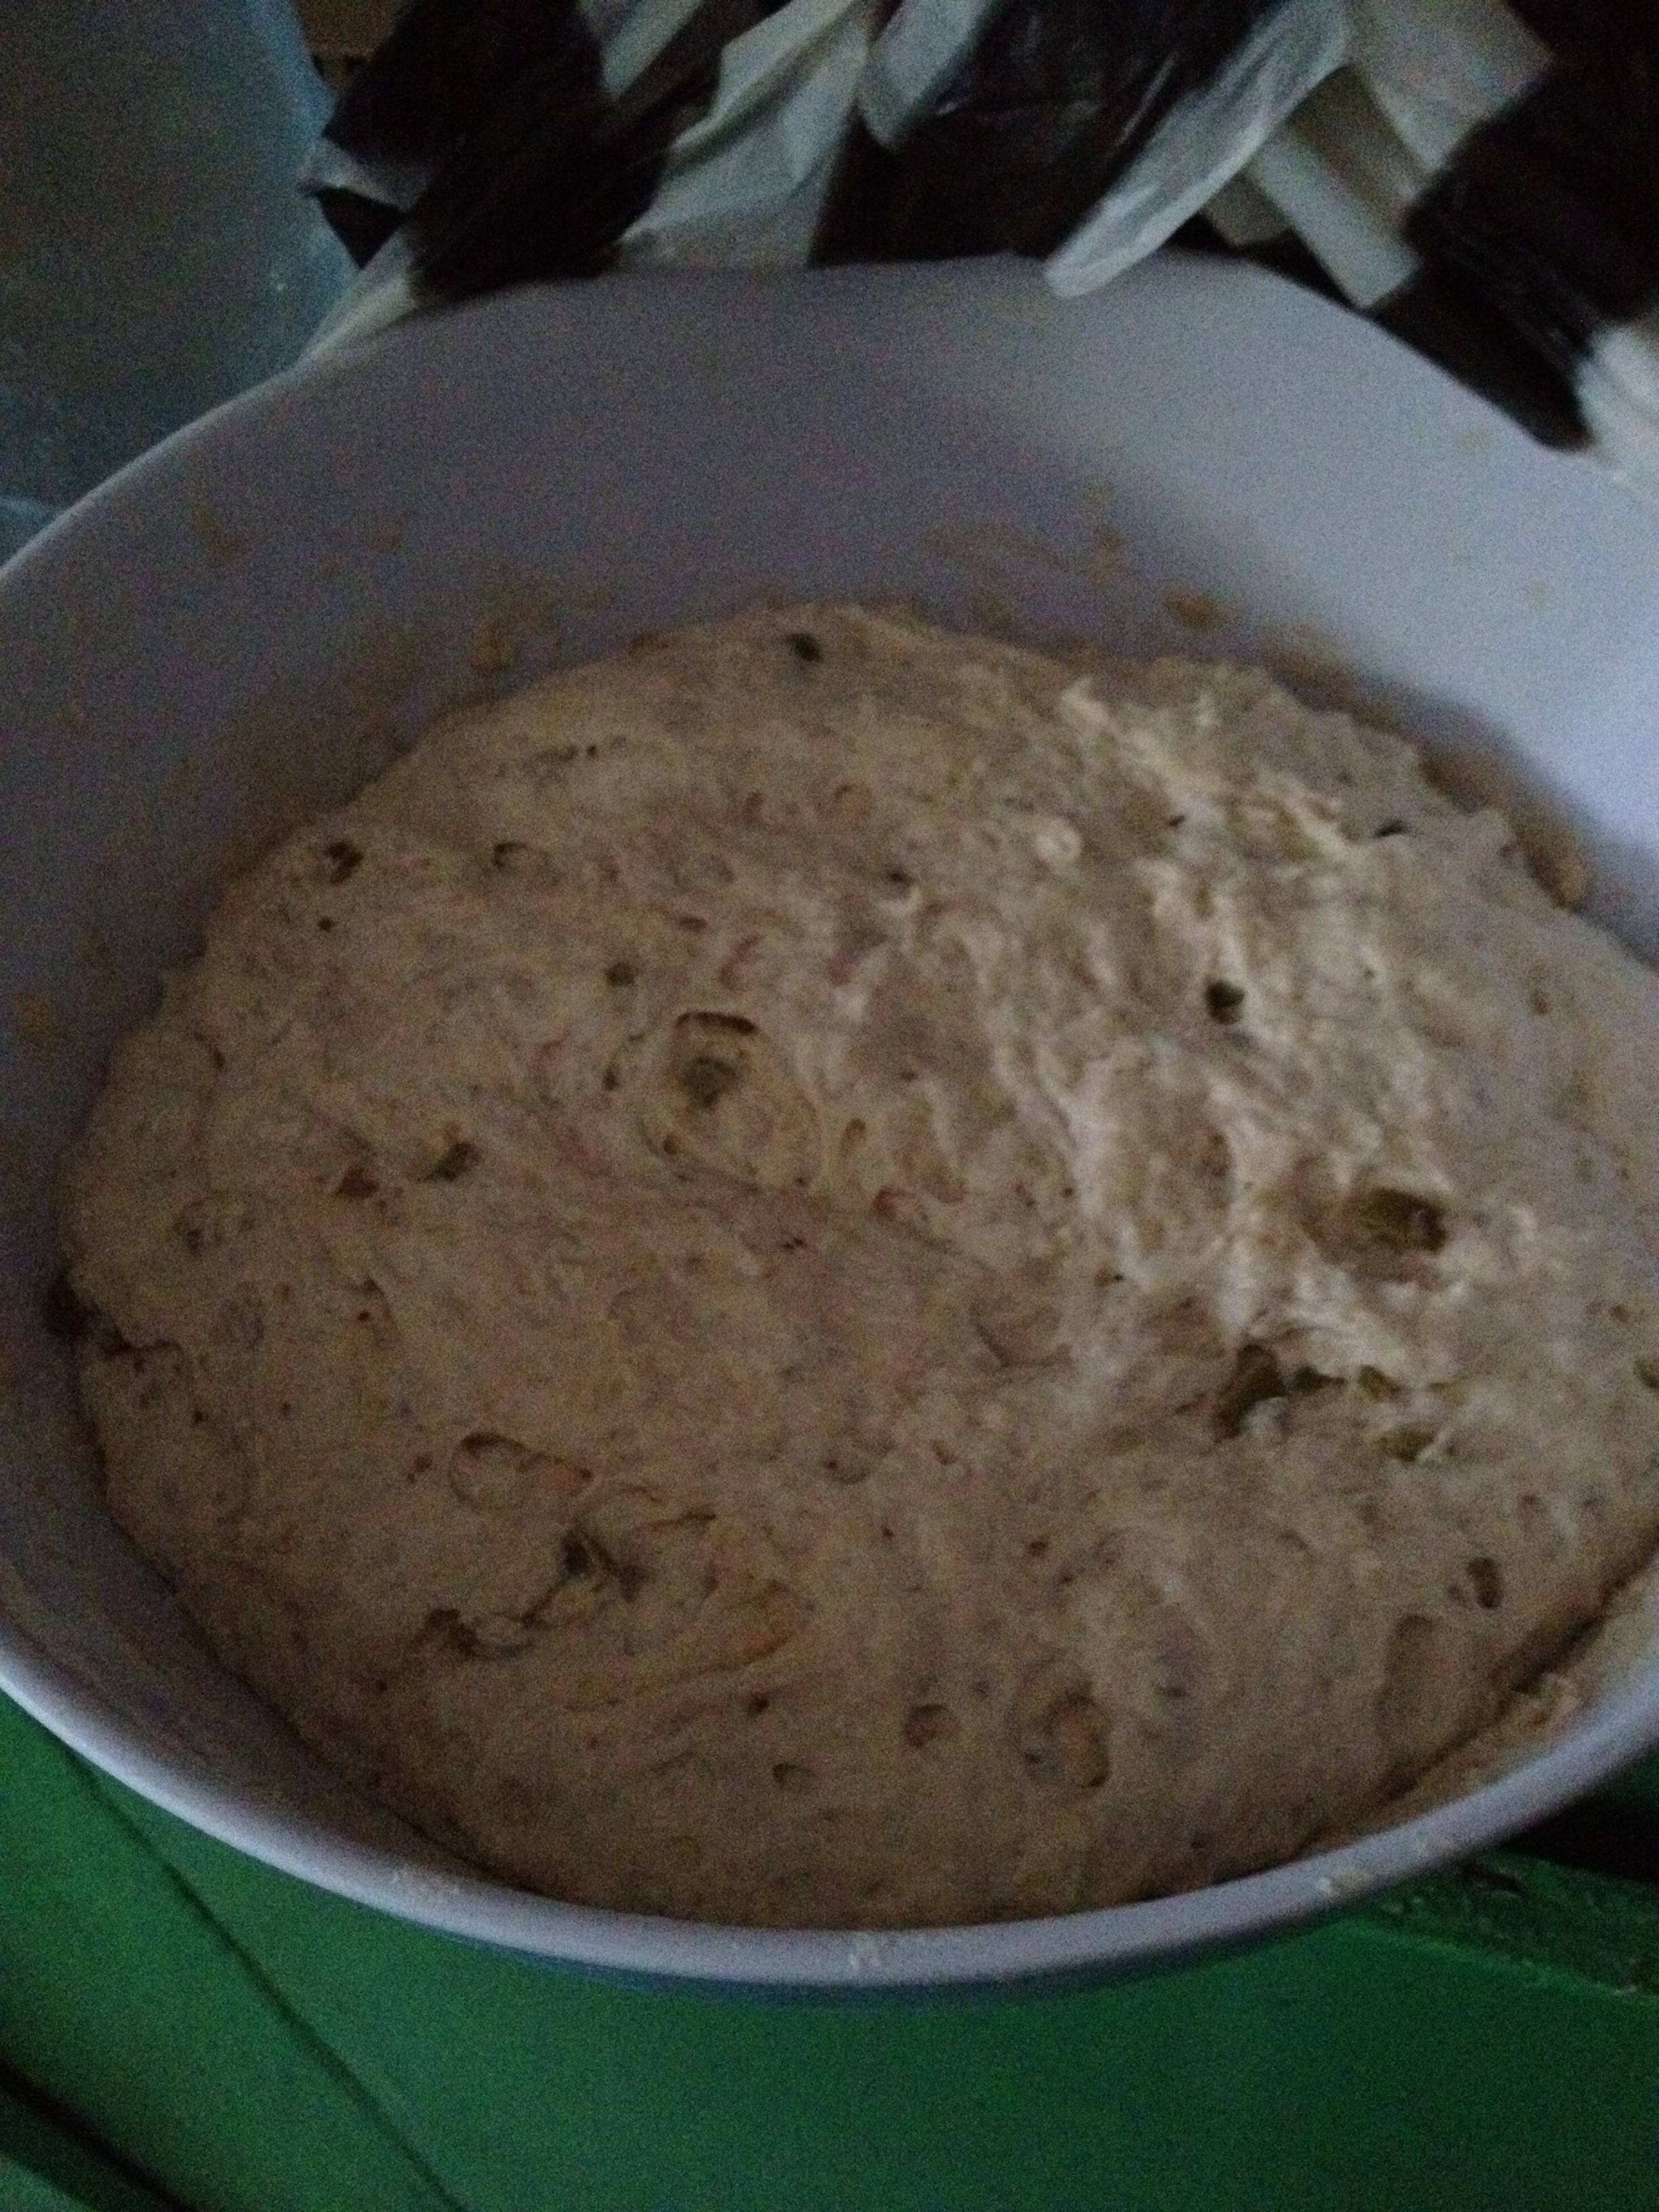
After the first rise
Next, wet your hands and punch down the dough and knead it just a few times. Now you can shape it however you want. At post I have a small loaf pan that I use, so I grease the loaf pan with some oil and put the dough in there for the final rise. If I don’t have a loaf pan available, though, I just grease whatever flat pan I have, shape the dough into a boule, and place it on the pan seam side down like so:
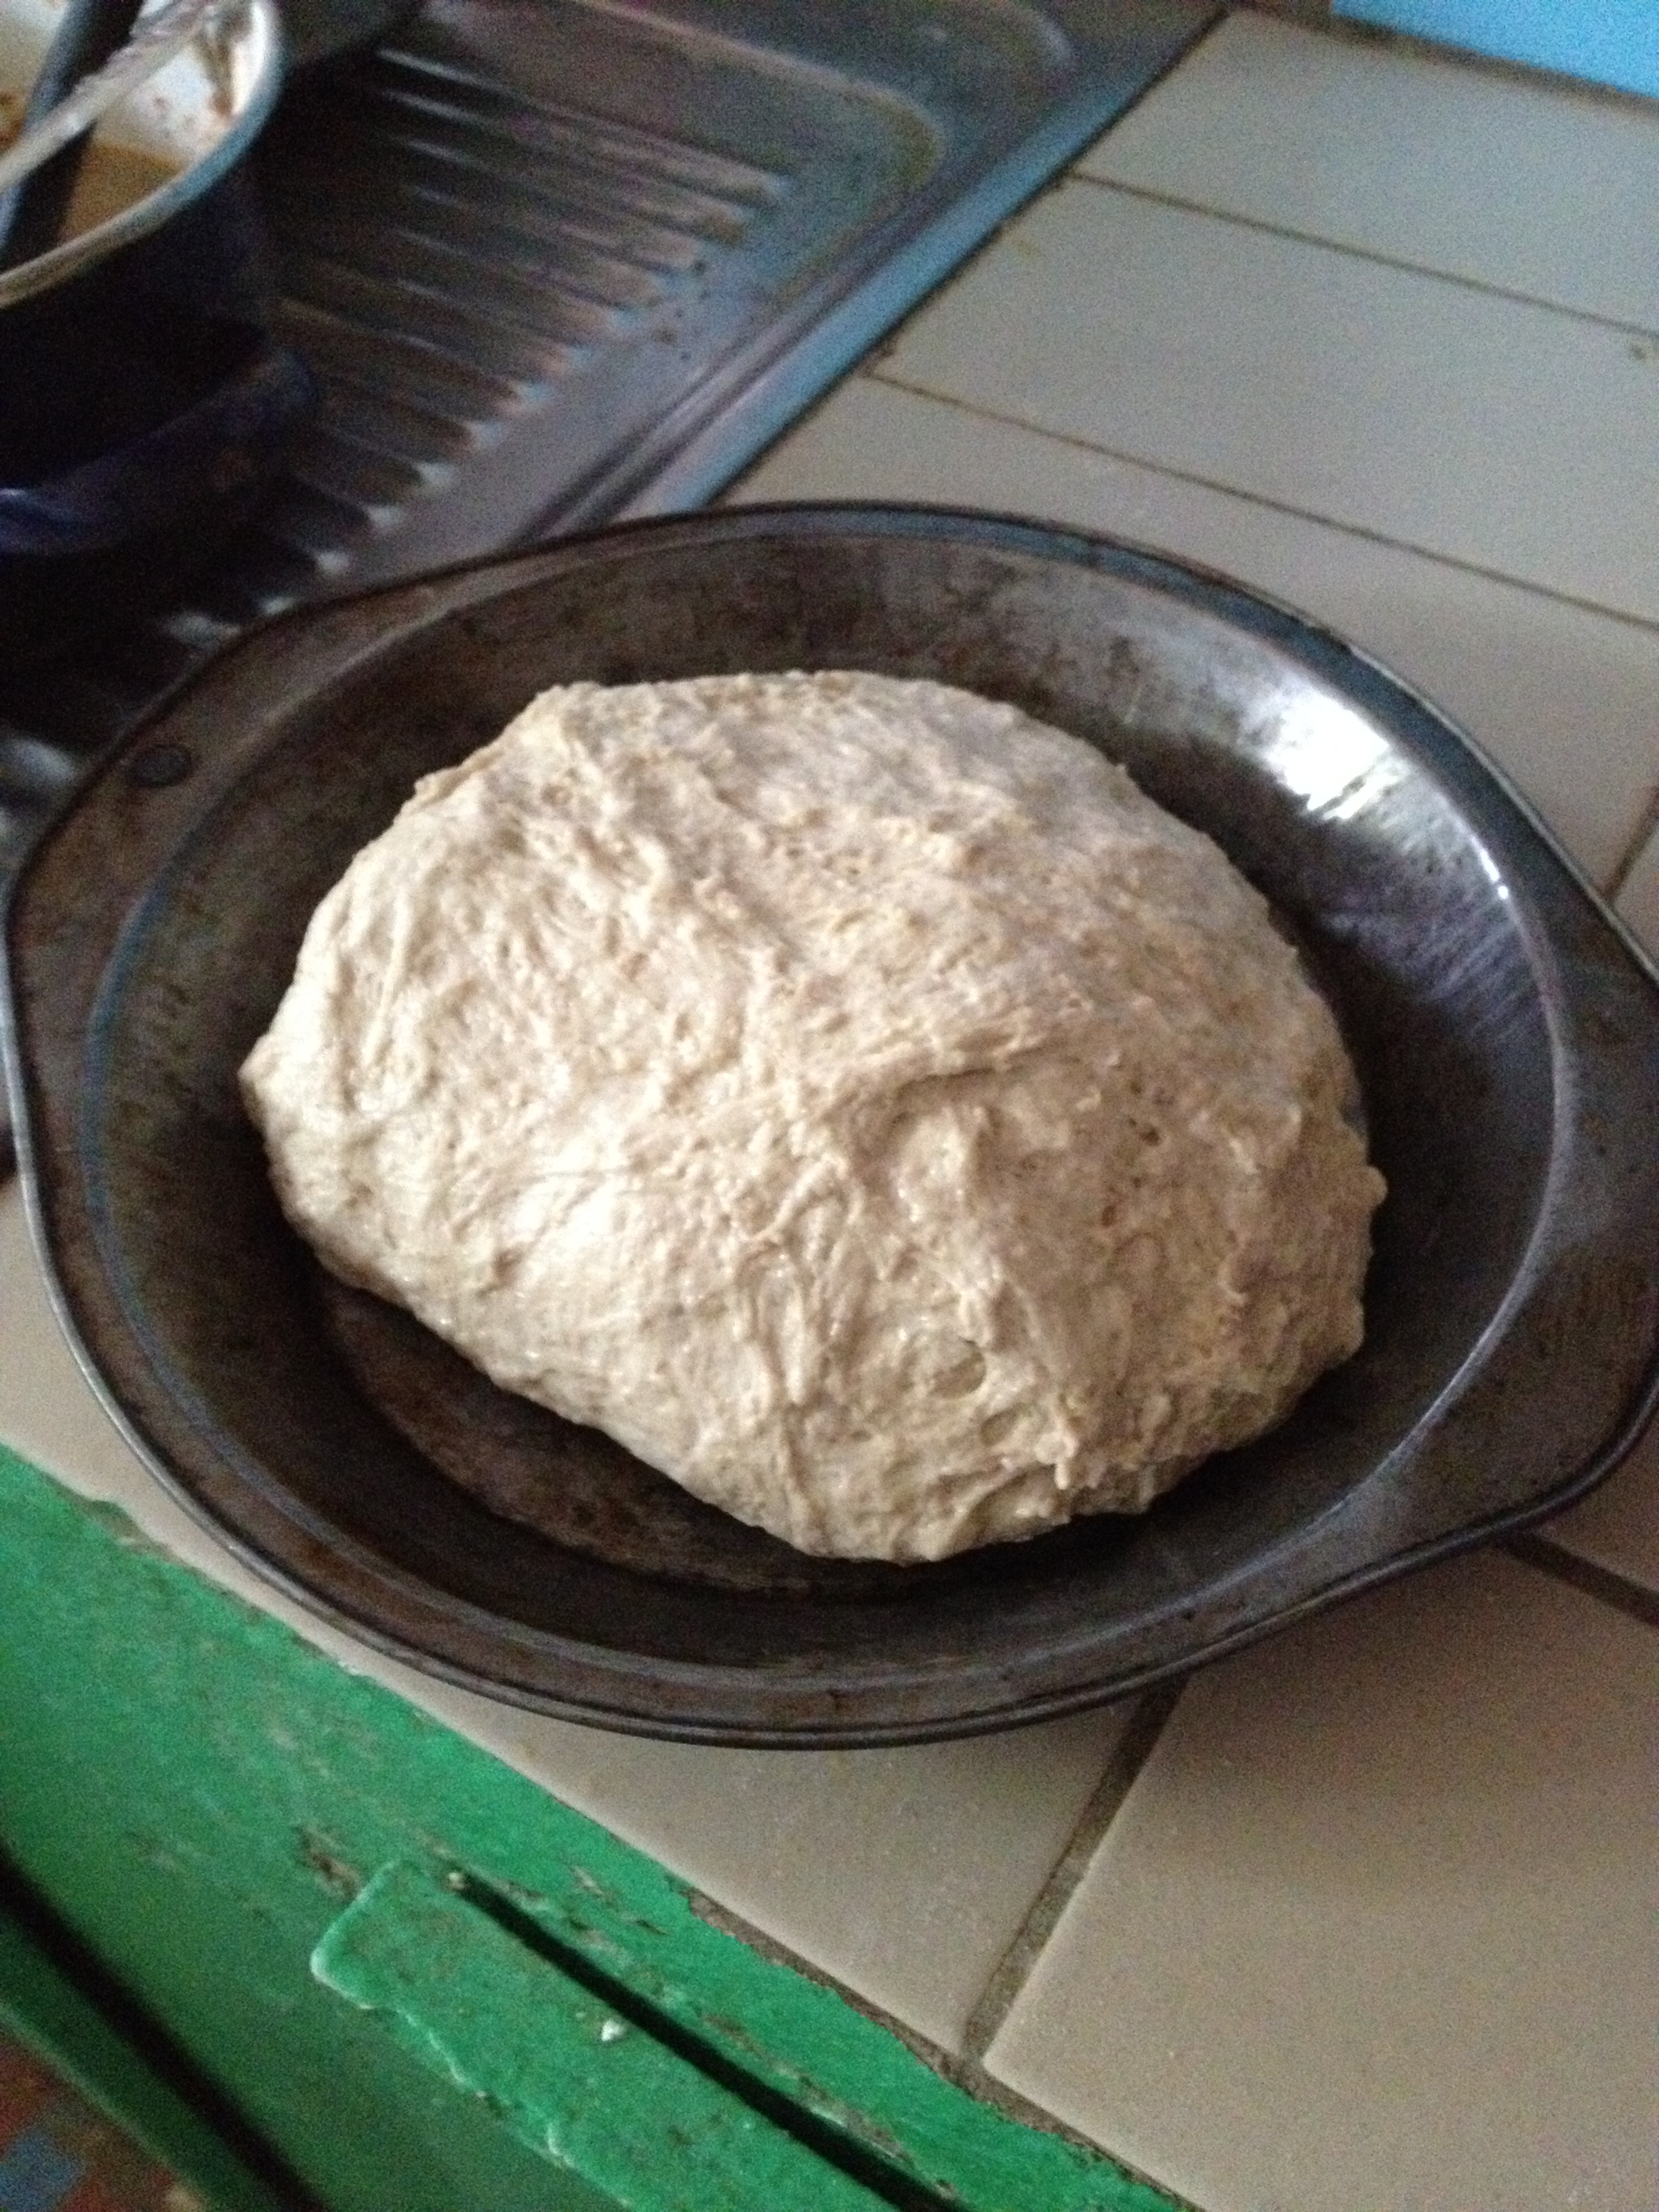
A shaped boule
The final rise should take about 2 hours more, until the dough has almost doubled in size again. About a half hour before you are ready to bake, start to heat up your oven. You want it hot (about 450*F if you have a real oven).
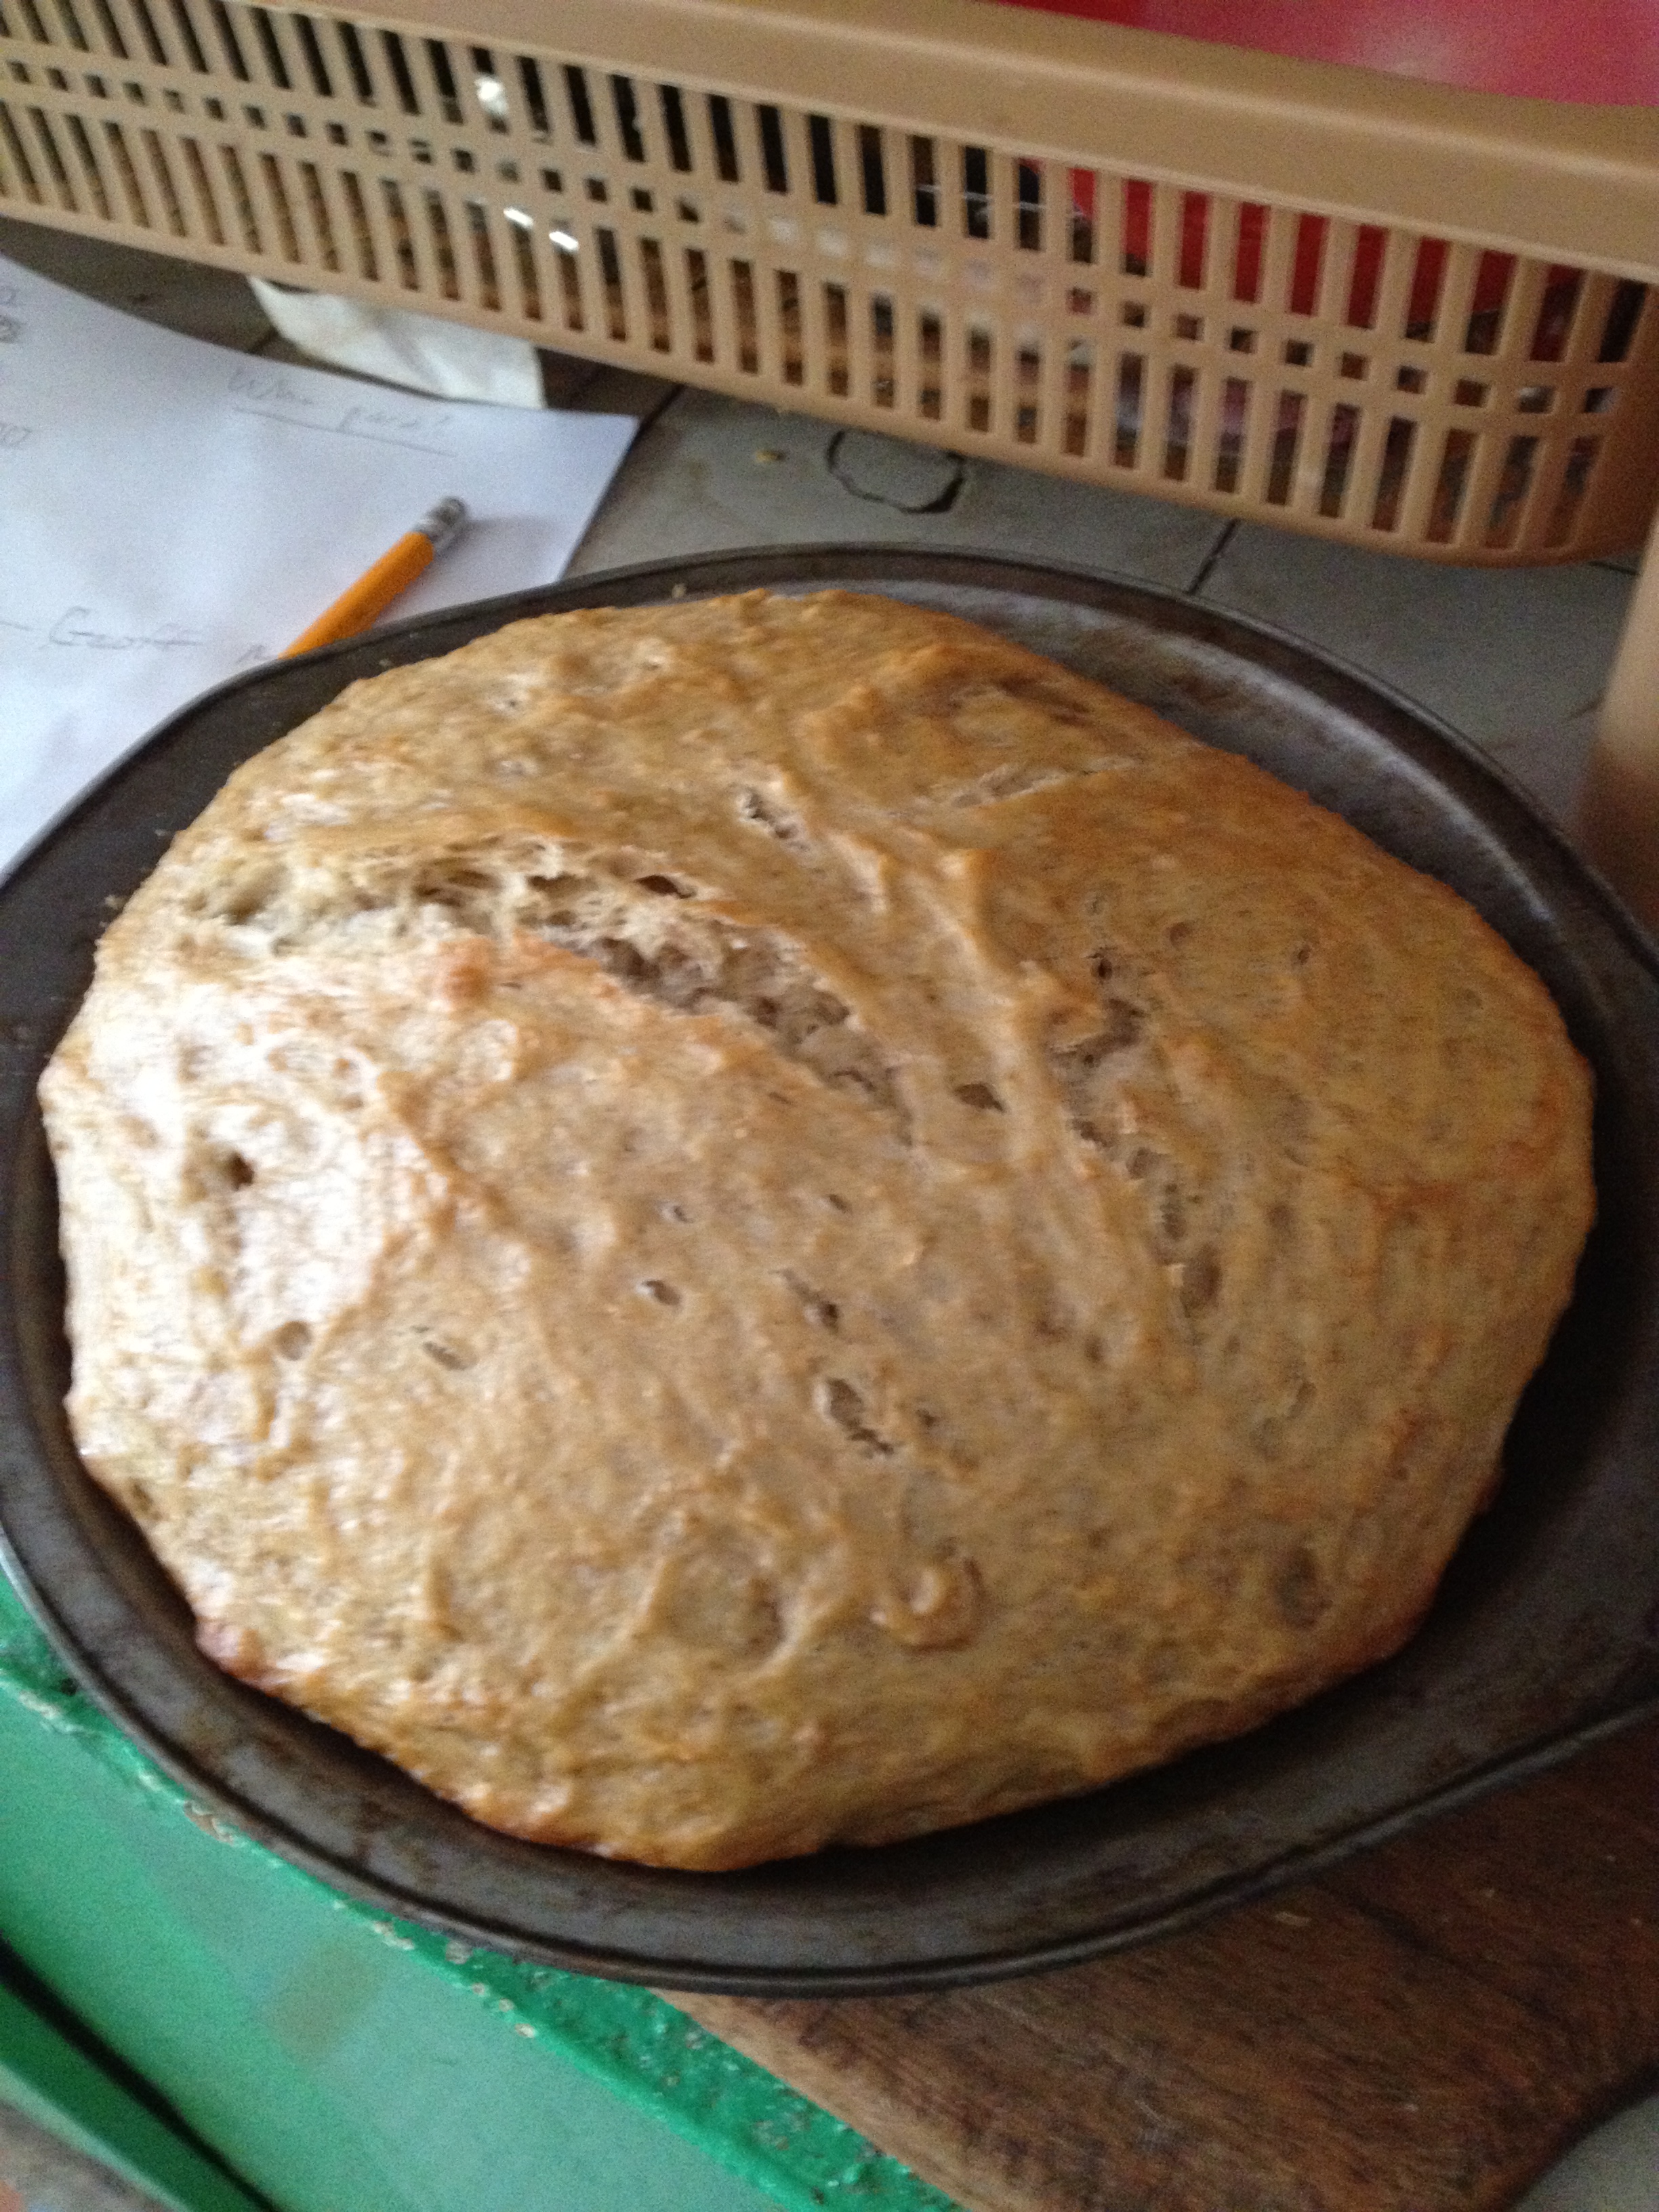
Just before you put the bread in, put about a ¼ cup of water in the bottom of the Dutch oven to create steam (or put a pan of water in the bottom of your regular oven). Bake the bread for about 30 to 45 minutes, until the top starts to get golden. When you take the bread out, the bottom of the loaf or boule should sound hollow.
It will be easier to slice the longer you let it cool, but I usually only last about 20 minutes. There are few things more wonderful than butter melting on freshly baked bread.
